
If you are a fan of Nintendo, you are well aware of the ‘left JoyCon not charging’ issue. As a regular gamer, you enjoy using JoyCon with the Switch of Nintendo, indeed. You must have noticed the analog sticks on your JoyCon’s left side, as it is nothing but a general controller. So, how to solve left Joycon not charging issue?
The sticks come with 4 action buttons which are pretty much standard. It would help if you played the game. They can go well with the switch. If your screen is big, you can connect them to a holder. Your left JoyCon generally faces problems for a few reasons. Sometimes, you forget to disconnect and leave it that way. The JoyCon won’t charge anyway. Let’s get on the way where you can find some helpful tips.
Why Left Joycon isn’t Charging
When using the Nintendo Switch dock, the left Joy-Con can sometimes lose its ability to charge while it is attached to the console. This issue may be caused by damage to the charging port on the back of the left Joy-Con or a buildup of dirt or debris in this port.
What To Do When Your Left Joycon Not Charging?

1.Keep Your Joycon Ports Dirt Free
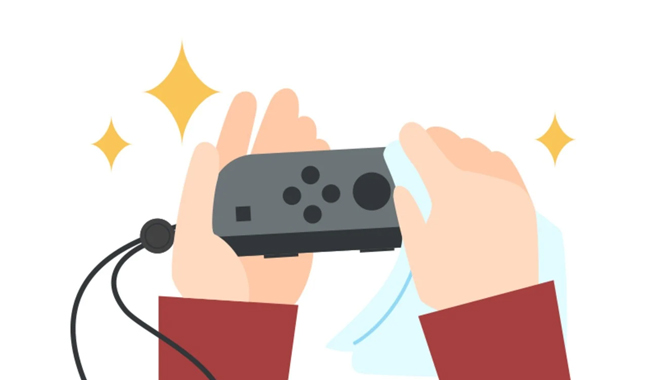
You must have been worrying about the cause for days. Even it somehow possibly get into you that the JoyCon may not be switched yet. Let me tell you, my friend, your hunch is right. JoyCon is not getting charges it needs from the main Console due to stay detached. But the question is, why on earth is this happening. And the very answer is the dirt.
It has been a while. You sit, play the game, and then sleep. Meanwhile, the dirt accumulates in the ports. Eventually, it poses an obstacle in the way of the connection between your JoyCon and the Console. Don’t worry! Just be alert to get the ports completely cleaned from now. The dirtier the ports become day by day, the more likely it is that the connection will be permanently damaged. Now you can see why it is so much important to clean your switch.
Put more effort into removing the dirt. Even do it every weekend. Eventually, you will be able to bypass the charging issue. Therefore, if you have not cleaned your ports yet, get them cleaned first as soon as possible. Take at first a piece of cotton or tissue paper. Then get the dirt out of your ports. Be gentle at the time of doing this. An extra pressure may damage the little connector pins attached to the device.
You don’t want to go that way because those pins are pretty tough to repair. So, are you done with the cleaning? It follows the rail alignment to make sure that your JoyCon is fully working. Now see carefully if your JoyCon is charging. If you can correctly go through the above steps, your JoyCon charging will be okay.
2.Resynchronize The Joycon With Your Console
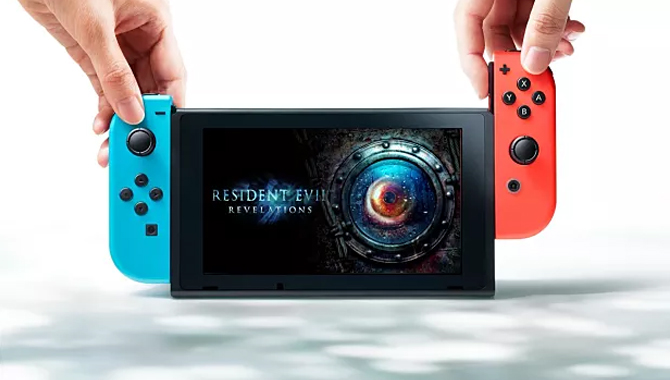
If cleaning ports don’t fix the charging problems, carry on with this method. This resyncing is very simple. Put your Controller out from the Console, and after that, push the sync button. You can find this button on the side linked to the Console. Next, remove the Console from the dock. Then close the Console for good. Later, turn the switch on and take it back on the dock. Now connect your JoyCon and see if it’s charging.
You may find the battery not showing anything. But the charging is in progress, and you can be sure about that. You can find your JoyCon fully charged, and even you can start playing games. You may not see the full charge status the first time. In that case, you can turn off-on the connection between the Controller and Console a few times.
3.Up-To-Date The Firmware For Both Controller And The Console
Even after going through process-2 properly, you may find the battery problematic in showing valid status. JoyCon will report as fully charged, but the battery indicator won’t follow this. It may leave you confused by showing insufficient charge in the battery. Hence, the connection is yet to be completed.
This time, all you have to update it for both your Controller and the Console. Locate Settings of your Console and then check update. Now it is time to up-to-date the firmware for the Nintendo switch. Boot the switch at first, and then look out the Settings of the Nintendo system. Here you can find the firmware update. Press on it, then wait and see it searching for the updates, if any available. The last step is installing the available updates on the Console.
Next, prepare to install the updates of the firmware on your Controller. Similarly, locate the settings of the Controller and check the available updates. The entire process will be at the end through checking if all are updated. Then you can start charging your JoyCon.
4.Connect The Joycon To A Grip
If you are still unable to fix the ‘left JoyCon not charging’ problem, you have to be outside of the box. It means you have to put your JoyCon out of the dock. Then connect the JoyCon to a grip. Make sure there is a power source linked with the grip. Then wait until three hours, and your JoyCon will be all set to work again.
Pay attention to the power source as well as your adapter. The JoyCon may have some problems with them. Consequently, the charging may not work. In this case, you can replace the adapter and check the cable if there is any leakage. Put the adapter on and off also may be a little handy.
5.Replace The Nintendo Switch
Didn’t you fix the device yet? Still, you have one option left, and that is the replacement of your Nintendo Switch. Do the check. Your switch might be just one year old. Now you can utilize your warranty. Let the supplier know the problem in detail. They will walk you through some guidelines, and they try to troubleshoot your device. When they are done trying, it will be time for you to claim for a replacement.
Bottom Line
Now you know how to fix your ‘left JoyCon not charging’ issue. Optimal care can make the attachment of your gameplay long-lasting. Cleaning the tiny parts in time and putting extra care during the repairing can do a lot. When you have already made sure to take care of the hardware parts, keep an eye on the firmware version. I hope now you know how to solve left Joycon not charging issue.
Leave a Reply