
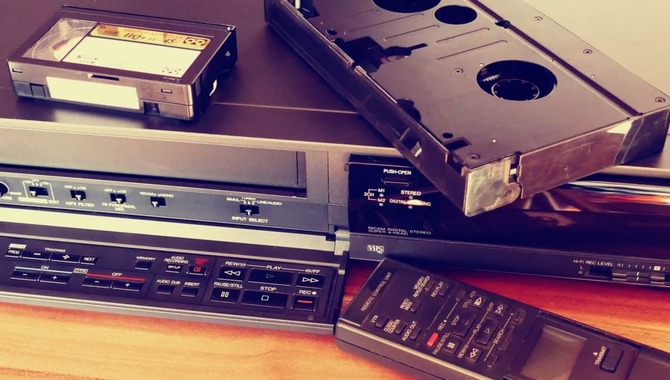
A VHS tape is a tape format used primarily for home video recording. It contains analog video signals recorded on its surface. It also contains audio tracks and control data. Before transferring your old VHS tapes to DVDs, make sure you’ve dusted them off.
Yes, dusted. That’s right – we’re talking about dust particles that could be causing static on the tape and reducing its audio quality. Transferring videos from a VCR/corder to the computer has become easier thanks to digital video players like DVD movie burners.
But transferring tapes from a VHS player to a laptop or PC is not as easy. You need to keep certain things in mind before transferring the tape. Read this blog for all the information you need before transferring your old VHS tapes to your computer.
8 Easy Steps To Transfer VHS Tapes To Your Computer
VHS tapes to your computer are a process that allows you to convert VHS tapes into digital files. This can be useful if you want to preserve your old videos or movies for later use. You only need a VHS tape player and a computer with appropriate video editing software to convert VHS tapes into digital files.
1. Get The Right Gear
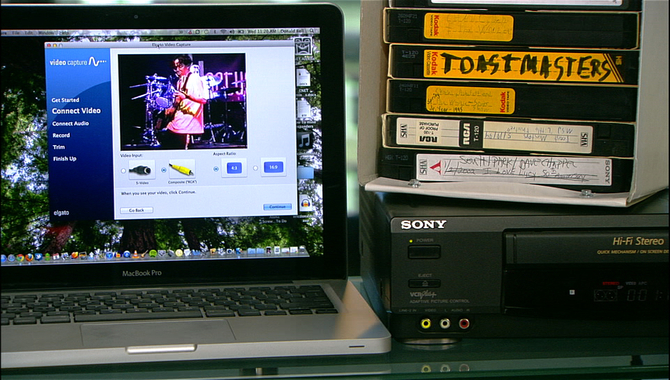
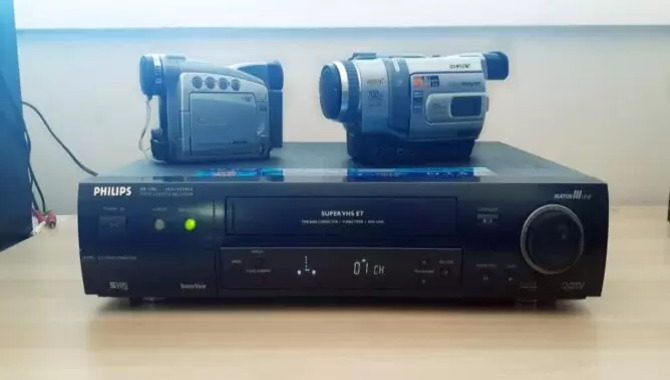
You will need the right gear to successfully transfer VHS tapes to your computer. You can start by capturing the footage with a video capture device, such as a camcorder or digital camera.
After capturing the footage, you must use a PC with a USB port and a compatible video editing software program to transfer the tape to your computer. Here are the basic steps for transferring VHS tapes to your computer:
2. Download And Install The Software
To transfer VHS Tapes to your computer, you will need to download and install the software. The software is free and easy to use. Once installed, it will automatically start the tape conversion process. Transferring VHS tapes to your computer is usually quick and painless.
All of the data on the tapes, including video and audio files, will be transferred intact. This means you can enjoy all of the footage from your old tapes without any loss or quality degradation. Once you have installed the software, you must connect the tape player to your computer and press play to begin transferring data from the tape player to your hard drive.
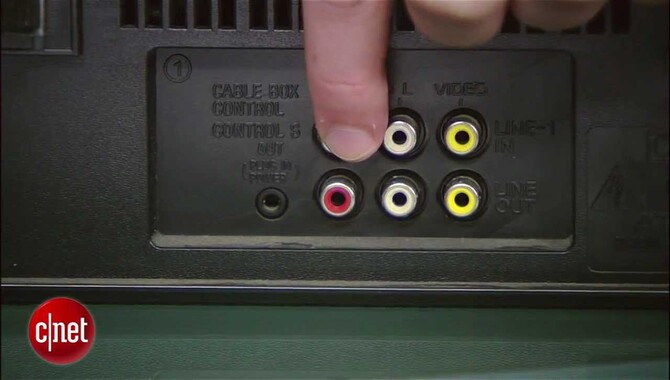
3. Plug Everything In
To successfully transfer VHS tapes to your computer, you’ll need to ensure that all relevant components are plugged in and connected. You must first connect your VH tape player to your computer using a USB cable or Bluetooth adapter. Next, open Windows Media Player and click the “File” menu option.
Select “Add a file from disc.” Browse for the VHS tape you want to transfer and select it. Windows Media Player will start playing the tape and transfer the footage to your computer. Once complete, you can view the footage on your computer.
4. Test The Capture Settings
It is vital to test the capture settings before you begin a VHS tape transfer. One way to do this is by opening the VH tape capture window and selecting the correct device. You can also set the capture parameters, such as video resolution and frame rate.
Once you have set everything to your satisfaction, hit Start Capture. Transferring VHS tapes to your computer can take a few minutes, but it is well worth the effort to preserve old memories or start a new tape collection.
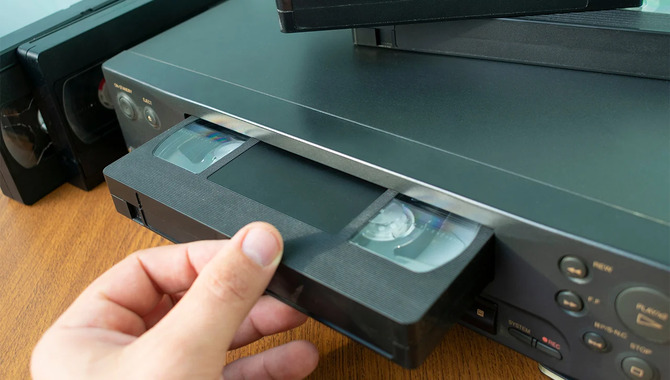
5. Let The Video Roll
Before transferring the VH tape to your computer, ensure both devices connect to the same network. The video player on your computer and the VHS tape must be able to access the internet for this process to work. First, open the video player on your computer and select the VHS tape you want to transfer.
Next, click the “Open” button and select the location where you want to save the file. Finally, click on the “Save” button to finish the process. Once all steps have been completed, you can enjoy watching your favorite videos from VHS tapes on your computer.
6. Rewatch Your Captured Footage
These steps include labeling tapes, extracting footage, importing footage into your video editing software, and adding special effects. Once you have completed these steps, you can enjoy your captured footage on your computer screen.
If you want to ensure that you can play back all your captured footage smoothly and with little hassle, label each tape carefully and use good tape-management practices. By following these simple steps and taking the time to label each tape, you can ensure that your captured footage is easily accessible and ready for editing or sharing.
7. Set Up Your Storage
If you want to transfer VH tape(s) to your computer, you must set up your store. You can use a traditional hard drive or an external USB drive. Once your store is set up, follow the 8 easy steps below to transfer VHS tapes to your computer. First, find the “video” folder on your hard drive and copy all of the video files into it.
Next, copy all audio files into their corresponding folders. Finally, play all the video and audio files back-to-back to ensure that everything is properly synced. After transferring the videos from your VH tape(s), you can safely throw them away or archive them for future use.
<EOS> If you want to transfer VHS tapes to your computer, we recommend setting up storage beforehand. This will help make the process easier and ensure you copy all video files into one folder. Follow these 8 easy steps above to transfer Vhs tapes to your computer!
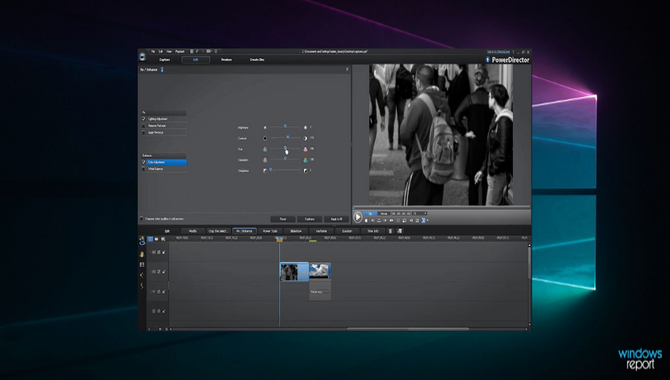
8. Edit Your Movies
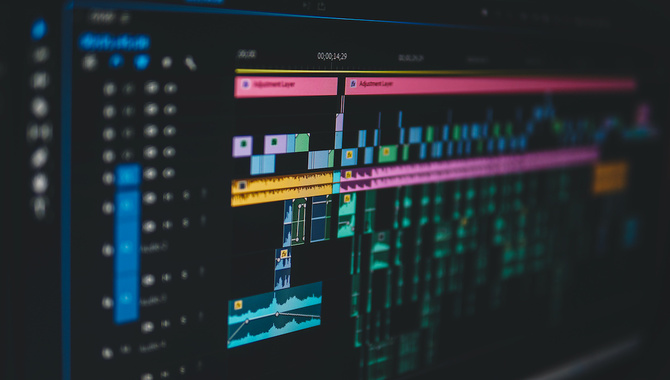
If you want to transfer VH tapes to your computer, you will need a video capture device and a software program. The video capture device converts the analog signals of the VHS tape into digital format. With this device, you can easily edit your VHS videos on your computer to improve their quality.
You can use an editing program to remove imperfections from the video or add special effects. After editing, you can burn the video to a DVD for storage or transfer it to a digital media player for playback. By capturing and editing your favorite VH tapes, you can enjoy them in high-quality format and share them with family and friends.
Tips For Transferring VHS Tapes Smoothly.
Consider following these tips if you’d like to transfer VHS tapes smoothly. Firstly, you can use mild detergent and warm water to clean the tape. This will help remove any dirt or residue preventing the video cassette from playing properly. Secondly, you can remove the protective covering using a sharp knife or scissors.
This will allow you to easily access the tape’s tape player and connectors. Finally, you can insert the video cassette into your computer’s video input. This will allow you to easily access the tape’s digital file through your computer’s video player software. Following these simple steps, you can transfer VHS tapes smoothly and enjoy your favorite movie on any device!
Requirements For Transferring VHS Tapes To Your Computer
If you want to transfer VHS tapes to your computer, you must meet a few requirements. First and foremost, make sure your computer is compatible with VHS tapes. If not, you won’t be able to use the tape player on your computer.
Another essential factor is deciding where to store the tapes before transferring them to your computer. As a start, you could consider using an external hard drive or a tape drive as storage media for the VHS tapes.
After that, it’s vital to download the appropriate VHS tape transfer software for your computer. Once that’s done, connect your computer to the TV and the tape player. Follow the on-screen prompts to transfer the videos to your computer. Lastly, enjoy old movies on your new computer!
Things To Keep In Mind While Transferring VHS Tapes To Your Computer
Before starting the transfer, ensure the appropriate software and equipment are to complete the process. This will ensure that your tapes are transferred properly and without any errors. Follow the instructions carefully to avoid any mistakes that could prevent the transfer from being successful. Be patient while transferring the tapes; it may take some time for them to be completely transferred.
Do not try to play the tapes on your computer if they are not in the correct format. Once the tape has been fully transferred, it’s best to delete any unnecessary files on your computer before storing them for future use.
Avoid repeated transferring of VHS tapes, as this can harm them and cause them to become unreadable. Instead, try using tape cartridges or digital tape, which is more durable and less prone to faults.
Conclusion
VHS tapes are still popular today, and for a good reason: they’re durable, affordable, and easy to use. Though they may not be as advanced as some other video formats, VHS tapes are still an excellent option for anyone looking for an easy way to watch movies or TV shows. Following these simple steps, you can easily transfer VHS tapes to your computer and save them for playback.
Depending on your device type and the file format supported by your computer, the process may vary slightly. Besides, other factors can affect the video quality, such as tape age, tape deterioration, tape friction, tape machine settings, tape player settings, and file compression. So ensure that you’ve got everything right before starting the transfer process.
Frequently Asked Questions:
1.What Is The Best Way To Convert VHS Tapes To Digital?
Ans: It will largely depend on the type of VHS tape and converter you are using. However, some simple tips that may be helpful include cleaning the tape heads before conversion, inserting the tape correctly into the converter, and running a quality scan after each video transfer.
2.How Do I Convert VHS Tapes To Digital Without A VCR?
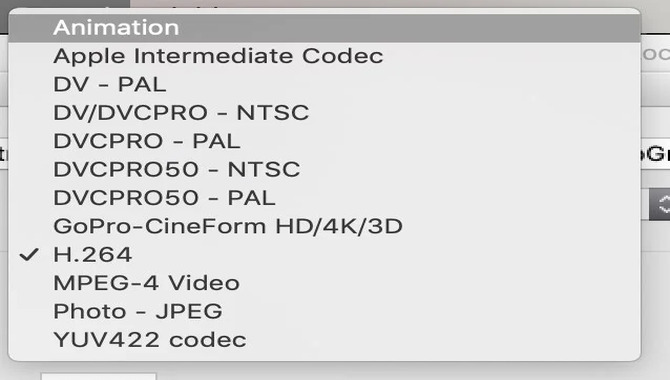
Ans: You will need a video player and a video converter to convert VHS tapes to digital ones. Some video players that can convert VHS tapes include the Windows Media Player and the Apple TV. The video converter that can convert VHS tapes to digital is the popular H.264 codec.
3.Is It Possible To Transfer Videos From VHS Tapes Directly To Your Computer?
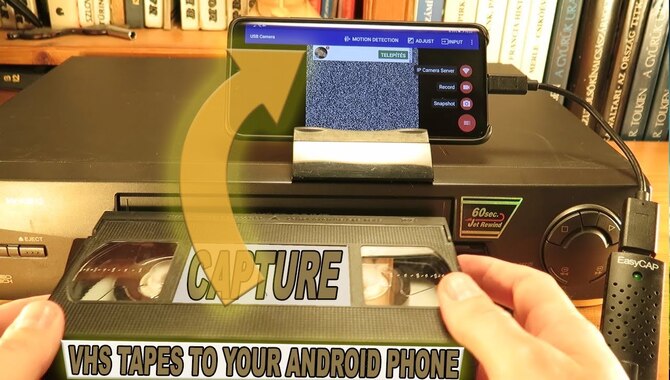
Ans: Yes, transferring videos from VHS tapes directly to your computer is possible. You will need a video capture device and a software program. The video capture device can be any device that can capture videos, such as a digital camera, camcorder, or smartphone. The software can be any video editing program, such as Windows Movie Maker, Adobe Premiere Elements, or Apple Final Cut Pro.
4.Can I Transfer Tapes By Hand, Or Do I Need Special Equipment For That?
Ans: Yes, you can transfer VHS tapes by hand. You will need a video cassette recorder and a VHS tape player. Use the video cassette recorder to copy the tapes to your computer. Use the VHS tape player to play the copied tapes on your computer.
5.How Long Does It Take To Transfer VHS Tapes From My Old VCR To My New Computer?
Ans: It may take a few hours to transfer many VHS tapes from your old VCR to your new computer. The most popular way to do this is using a video capture utility. This software will help you capture videos from your old VCR and then convert them into digital formats for transfer to your new computer.
Leave a Reply