
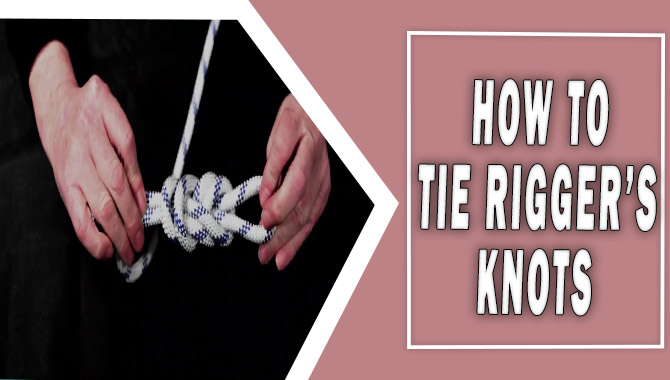
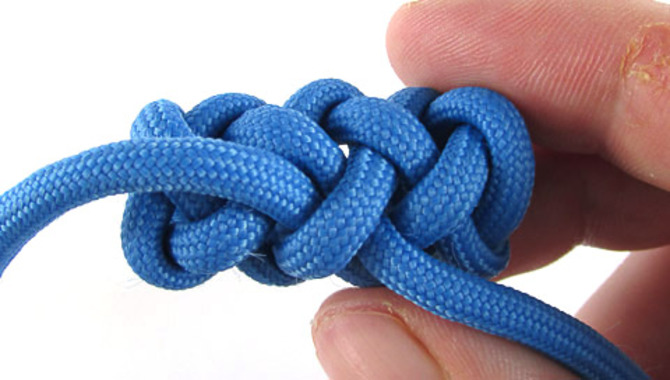
A knot master relies heavily on rigging, a versatile knot frequently used in rope work. It’s a hitch type of knot, which means it’s a series of wraps and turns. This knot isn’t just functional for rope work but also for climbing, tying bags, and more. Tying rigging knots is an important part of any sailor’s repertoire. Not only does it ensure that you properly secure the sails, but it can also help you in emergencies..
If you’re looking to tackle a new rigging project or want to know how to tie some basic knots, this guide is for you. We’ll teach you the basics of rigger knot-tying, including common rigging knots and their uses. We also cover some trade tricks that can make your job easier. So if you’re adventurous and want to learn how to tie some sturdy knots, read on.
5 Easy Ways To Tie Rigging Knots
People use rigger knots for various tasks, such as securing lines to poles or beams. You can use them to create looped ties, bowline knots, clove hitch knots, and bowline clove hitch knots. There are several rigging knot types, each with its specific use.
Climbers and sailors often use the bowline knot to secure a line to a rope or spar because of its versatility. When tying rigging knots, it’s important to know the difference between a knot and a slip knot. A knot secures two rope ends together, while a slip knot is a simple knot used for many purposes. The following are five easy ways to tie rigging knots:
1.Bowline
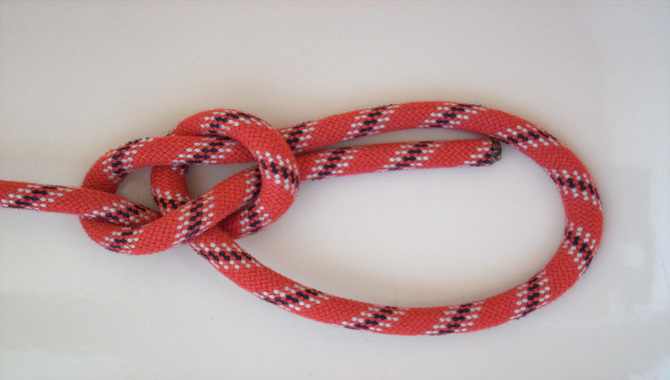
The bowline is a knot used to secure a rope or line around an object and is one of the most common knots used in rigging. The bowline is a simple and reliable knot that can be easily learned and used in various situations. You can tie it in several ways, including a loop knot or a clove hitch.
The bowline has numerous variations and uses, making it an ideal knot for various applications. It can securely tie down climbing gear, attach a rope to a structure, or anchor a boat. The bowline is a versatile knot that can be easily learned and used to achieve various goals and objectives.
2.Sheet Bend
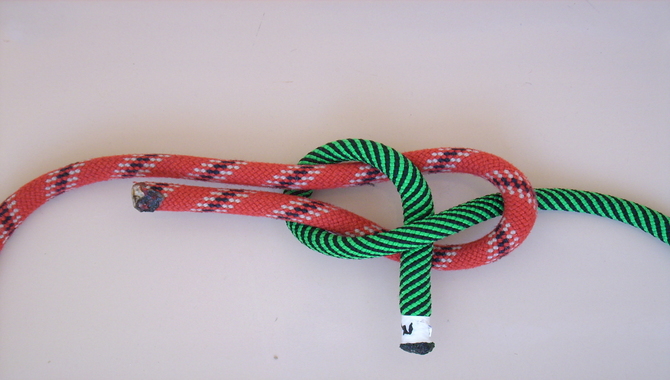
A sheet bend is a knot used in rigging to tie ropes together or to secure a line to a post or other structure. It is a secure knot that can tie different types and strong ropes. The sheet bend knot is the most commonly used knot for this purpose. It involves tying a loop at the end of a rope, forming a U-shaped piece of rope, and then tying the ends together at the base of the U.
One of the advantages of sheet bend over other knots is that it can be tied using minimal equipment and little technical expertise. However, there are various ways to tie sheet bend, and one of the easiest is using a loop knot. This knot allows you to quickly learn how to tie sheet bend.
3.Toggle Knot
The toggle knot is the most common rigging knot to tie ropes together. It consists of two half-hitches, one on each end of the rope. To use the toggle knot, tie one half-hitch in the middle of the rope, then make a loop with the other half-hitch. Pull the loop tight until it forms a loop on the other side.
Repeat this process to create a second loop. The toggle knot is a versatile knot that You can use for various purposes. Including tying down rigging or securing lines during transport.
It is a good choice for any situation where you need a reliable knot that can hold its shape over time and under stress. The versatility of the toggle knot makes it a popular choice for many professional and amateur sailors and fishermen.
4.Fisherman’s Knot
The Fisherman’s knot is a versatile knot that You can use to secure lines, ropes, and nets. You can easily tie it and easily undo it if it comes loose. Fishermen popularize the Fisherman’s knot because it allows them to secure a single rope at both the end and the middle of the line.
People in the fishing industry and other outdoor activities use this knot to quickly secure a rope or join multiple ropes together. There are many ways of tying the Fisherman’s knot; however, the following five easy steps will help you start:
- Start by making a loop at one end of the rope
- Wrap the rope through this loop once
- Cross over the rope and around the looped end once more
- Put the end of the rope through one of the loops you just made
- Pull on both ends of the rope until it forms a loop.
Output: The Fisherman’s knot is a versatile knot that you can use to secure ropes, lines, and nets. You can easily tie it and easily undo it if it comes loose.. The Fisherman’s knot is a common rigging knot used in various industries, including fishing.
It allows one to secure a single rope at the end and middle of the line. There are several ways of tying the Fisherman’s knot; however, taking a few moments to learn how to tie it properly will save you time in the long run.
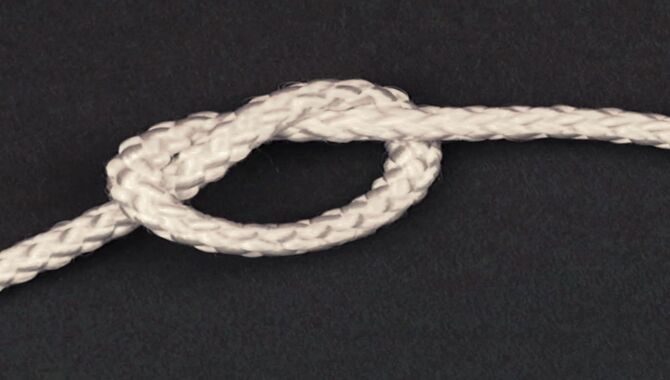
5.Overhand Knot
The sheet bend hitch is a knot you can use to secure lines together. People often use it when rigging a sail or boat because it is easy to tie and strong enough to hold the weight of the line. You can also use the sheet bend hitch to attach an anchor to a boat, providing a strong and reliable connection between the anchor and the boat.
You can use the sheet bend hitch to secure lines together. People often use it when rigging a sail or boat because it is easy to tie and strong enough to hold the weight of the line. You can also use the sheet bend hitch to attach an anchor to a boat, providing a strong and reliable connection between the anchor and the boat.
What Are The Benefits Of Using A Rigger’s Knot?

People use a rigger’s knot to tie ropes of various sizes and shapes together. Polyester or nylon fibers make the climbing rope, which has a diameter of 4 millimeters to 10 millimeters, and people use it in a rigging environment.
A durable knot that is easy to tie, a rigger’s knot provides secure friction when tying ropes. It can withstand high-tension loads, making it a safe knot to use. One of the benefits of using a rigger’s knot is that it allows the user to quickly tighten or loosen the rope without having to adjust the knot.
Another benefit of using a rigger’s knot is that you can use it in a variety of applications, including tying rope onto a pulley, tying fishing line to a hook, and tying knots in climbing ropes. Overall, a rigger’s knot is a great choice for anyone looking to easily and securely tie two pieces of rope together.
Conclusion
Rigging knots are a vital part of a sailor’s toolbox. These knots allow you to tie off a rope or line in a secure and efficient manner, which allows for easy handling. We can use them when setting up a sail or securing a rope during heavy weather conditions.
You have just learned how to use knot tying properly to help ensure that you do the task swiftly and efficiently each time. Keep these tips on how to tie rigging knots handy the next time you’re rigging a sail.
Now that you have gone through all the knots, you are pretty confident about rigging. But do remember not to panic while tying any of the above-listed knots. The instructions above should be followed carefully, and each knot must be tied at a specific place to get the best results. Another thing is to practice them at least twice before using them in real situations.
Frequently Asked Questions:
1.How Do You Tie A Rigging Knot?
Ans: Here’s a basic guide on tying rigging knots:
- Tie a bowline knot by looping the rope around an anchor, tying a loop in the middle, and pulling tight.
- Make a sheet bend by looping the rope around an anchor, pulling the end through the loop, and making a second loop.
- Clove hitch by bundling the rope together two or more times, looping one end of the rope around the middle of the bundle, and tying it off.
2.What Is The Most Commonly Used Knot In Rigging?
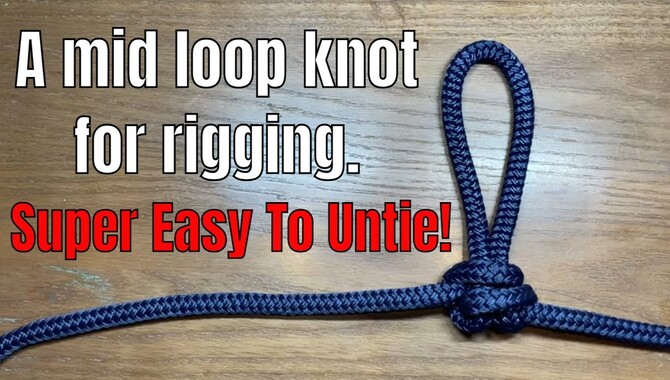
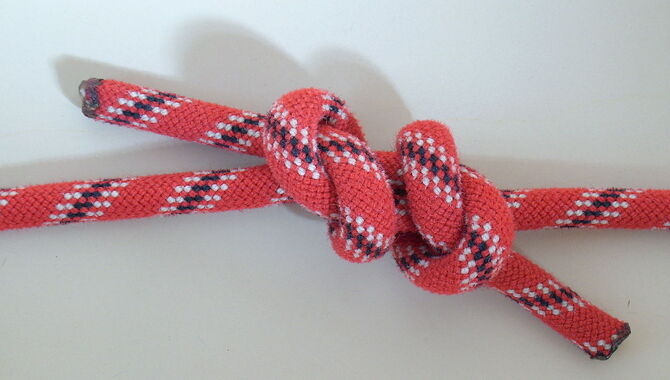
Ans: The most commonly used knot in rigging is the Rigger’s Knot. The Rigger’s Knot is a slip knot used to secure ropes together. First, tie a basic overhand knot to tie the Rigger’s Knot. Next, make a loop with the rope around the overhand knot.
Take the end of the rope with which you just made a loop and put it back over the top of the overhand knot. Put your thumb inside the loop and pull it tight. Now take the other end of the rope and put it through the hole you just created. Put your fingers on either side of the middle of the loop and pull tight to create the Rigger’s Knot.
3.What Are The 7 Essential Knot-Tying Skills?
Ans: When tying a knot, you need to be able to tie the following knots: Bowline, clove hitch, Fisherman’s knot, gallows knot, reef knot, and slipknot. Each of these knots has a specific purpose and can be used in various situations. To learn how to tie each knot, you must practice them regularly.
The best way to practice is by tying them while working on a project. There are many different ways to tie each knot, but the right way to do it depends on the situation. So take some time and learn how to tie the seven essential knot-tying skills!
4.Which Knot Tightens As You Pull?
Ans: Both the bowline knot and the square knot tighten as you pull on them.
5.What Are Some Common Mistakes That People Make When Tying A Rigger’s Knot?
Ans: Here are three common mistakes that people make when tying a rigger’s knot:
- Not making the knot tight enough: The knot should be tight enough so that it doesn’t loosen over time but not so tight that it becomes uncomfortable or difficult to untie.
- Wrong positioning of the knot: The knot should be positioned properly so that it does not become tangled or in the way.
- Using too much force: Taking too much force when tying the knot can make it harder to untie and cause it to stretch out.
Leave a Reply