
Keeping caulk and adhesive tubes well cared for is vital to ensuring their long-term success. It ensures the tube maintains its moisture level and helps ensure the seal remains tight, which minimizes the chances of drying out the caulk.
Keeping your adhesive and caulk in good condition ensures a smooth, durable project finish. But how do you do it? Well, we’ll discuss tips on keeping your adhesive and caulk from drying out, so you can get the most out of them.
We’ll cover topics such as storing adhesive and caulk properly, using the correct adhesives for the job, and making sure you’re regularly cleaning your tools and equipment to prevent build-up. By following these simple tips, you’ll be able to keep your projects running smoothly for years to come.

Ways To Keep Caulk & Adhesive From Drying Out
One of the most common problems with caulking and adhesive is that they often dry out. This can cause them to crack, peel, or even fail. There are a few ways you can prevent this from happening. So, it is vital to tightly seal the tubes in plastic or metal containers and store them in a cool and dry environment.
This will decrease the chance of the caulk & adhesive becoming brittle and discolored. Additionally, it is essential to remove adhesives and sealants before they can harden.
By following these steps, you can ensure your caulk & adhesive stays fresh and effective for as long as possible. Additionally, cleaning surfaces immediately after sealing them with caulk or adhesive is crucial to avoid staining.
By taking the time to address these issues, you can ensure your caulk & adhesive lasts for a long time without sacrificing their effectiveness. Scroll down for detail in the following steps.
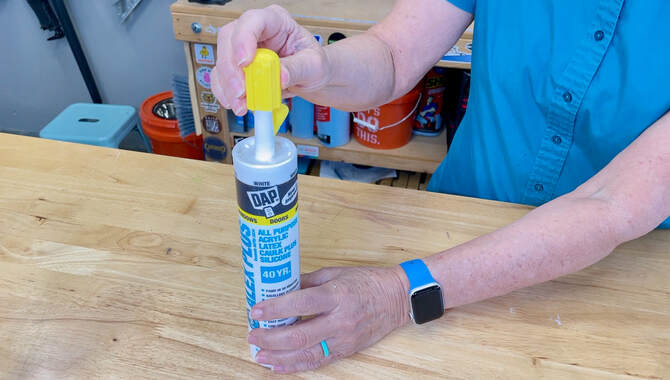
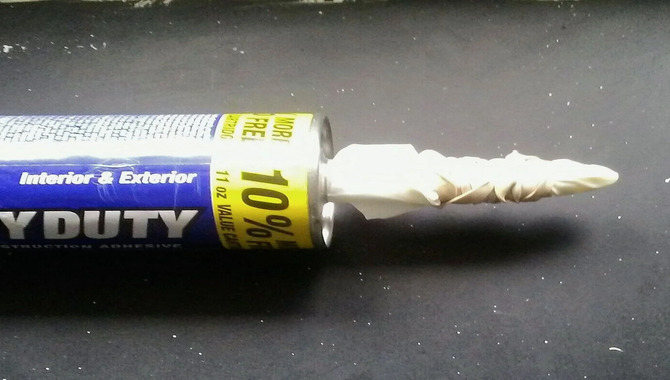
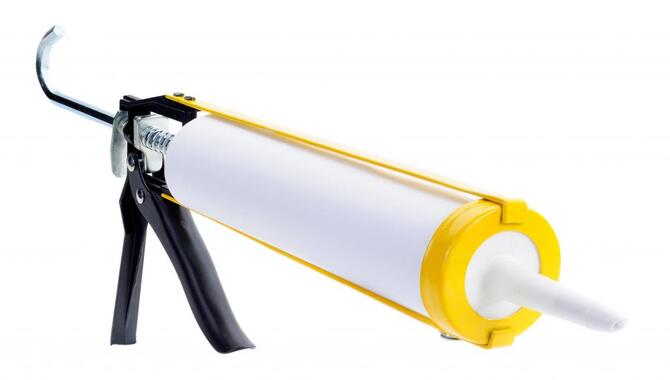
Cutting And Taping The Nozzle
Tapes and clamps can help to keep caulk and adhesive from drying out. To do this, cut the tube’s nozzle or bottle of glue or caulk and tape it tightly to the end. This will allow more air to flow through the joint while keeping it from moving.
If the nozzle becomes clogged, cleaning it with a wire brush usually fixes the issue. However, it is best to prevent this from happening in the first place by ensuring that the tube or nozzle is always thoroughly cleaned before use. This will help ensure that the caulk or adhesive stays fresh and free-flowing.
Using The Cap And Petroleum Jelly
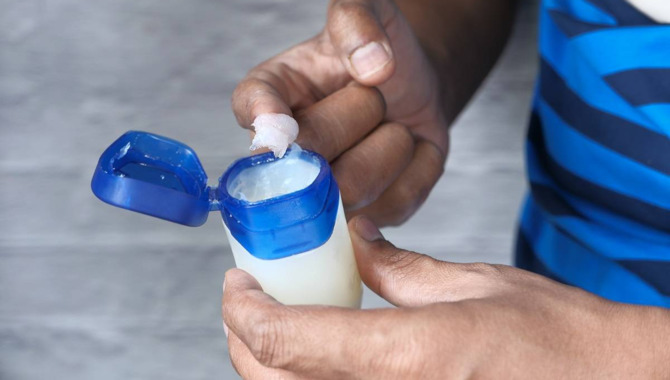
If you are planning on caulking or sealing some of your projects, it is essential to take the necessary precautions to ensure that the caulk or adhesive stays effective and prevents drying. One easy way to do this is by applying a cap to the caulk or adhesive tube before you apply it to the surface.
This will create a seal that prevents the caulk or adhesive from drying out. Another great tip for keeping caulk & adhesive from drying out is to use a suitable jelly.
You can apply this to the caulk or adhesive tube before you apply it to the surface, and it will help to prevent moisture from escaping. Additionally, if your caulk or adhesive starts to dry out, you can use a hair dryer to heat it and restore its original moisture level.
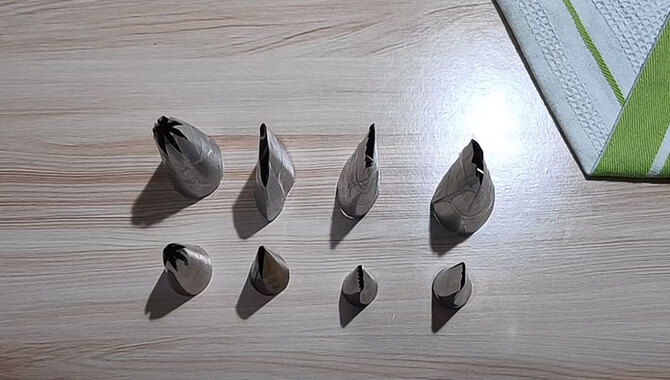
Covering The Nozzle With Plastic
To prevent caulk or adhesive from drying out, you can cover the nozzle with plastic. This can help to inhibit the caulk or adhesive from spreading. Additionally, you can seal the nozzle with a sealant to help to prevent it from drying out.
Covering the nozzle with a piece of plastic and sealing the nozzle with a sealant are simple ways to keep caulk or adhesive from drying out. However, they aren’t only sometimes practical or possible. To ensure that your caulk or adhesive stays fresh and usable for long periods, keep it covered and stored away from direct sunlight and heat sources.
Plugging The Nozzle With A Nail
One of the best ways to keep caulk and adhesive from drying out is to plug the nozzle with a nail. If you can’t find a suitable nozzle replacement, you can pour a small amount of water into the caulk gun and reseat the nozzle. However, if that doesn’t work and the caulk gun appears broken, it may be time to replace it with a new one.
If none of these solutions work, you may need to replace the caulk gun. This can be expensive, so make sure to budget for it before spending money on caulking guns.
How To Prevent Adhesive And Caulk From Drying Out
It’s important to ensure that the area around the adhesive or caulk is moist. This will help prevent it from drying out and keep the joint from separating. If the adhesive or caulk starts to dry out, apply a moisturizing solution to the area to help it stay moist.
Additionally, water the area regularly to keep it damp and avoid direct sunlight or extreme heat. By taking these simple steps, you can ensure that your adhesive and caulk stay in good condition and ensure the longevity of your project.
Use A Moisture Sealant.
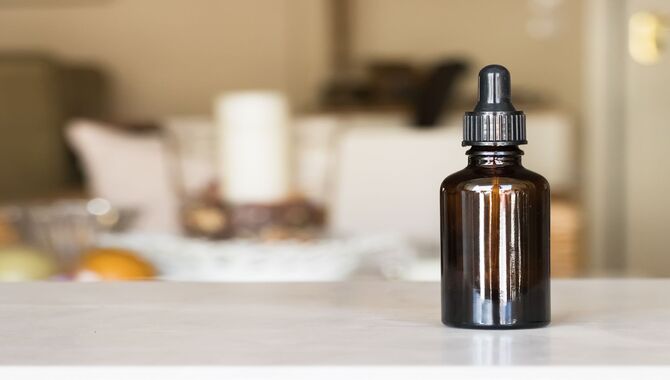
Moisture sealants, also known as moisture reducers, typically comprise a silane-based polymer and a water-resistant binder.
They work by absorbing moisture from the air and preventing it from reaching the adhesive or caulk. This makes them effective at protecting the adhesives or caulks from drying out. You can use them to protect caulk from drying out on various surfaces, including wood, metal, plastic, and glass.
Moisture sealants are available in various forms, including aerosols, liquids, and gels. These various forms can be useful for different applications and surface types. Some moisture sealant products come with an applicator wand to make applying the product easy and convenient. While they are effective at protecting the caulk or adhesive from drying out, moisture sealants must be applied before the caulk or adhesive is exposed to the air.
Keep Adhesive And Caulk Tightly Sealed.
It’s important to keep caulk and adhesive tightly sealed to ensure a stable, effective installation. Over time, caulk and adhesive can become brittle and dry out if they are not properly stored.
To keep caulk and adhesive from drying out, store them in an airtight container or use a sealant when installing caulk or adhesive. Also, use a caulk gun with a special sealant cartridge to ensure the best possible seal. This will help prevent leakage and reduce the chance of caulk or adhesive coming loose over time.
Check The Condition Of Adhesive And Caulk Frequently.
When caulk and adhesive fail to perform as expected, it can be frustrating to work with. However, it is vital to check the condition of both adhesive and caulk frequently to ensure they remain effective.
Adhesive and caulk can quickly dry out if not properly cared for; therefore, it is important to check the condition of both adhesive and caulk frequently. Cleaning these fasteners with a mild soap and water solution can help keep them working smoothly.
It is also important to make sure that the surface on which you are applying caulk is completely dry before applying the fastener. This will help prevent air bubbles from forming. Overall, taking care of your caulk and adhesive can help ensure your project runs smoothly.
Use A Moisture-Wicking Adhesive
The moisture-wicking adhesive is a type of adhesive to keep moisture away from the surface you apply. The key benefit of using moisture-wicking adhesive on a project is that it prevents the glue or caulk from drying out and cracking, which can damage the surface.
It is important to note that moisture-wicking adhesives are not always waterproof; we typically use them for projects where the end goal is to improve the appearance of the surface rather than ensure waterproofness.
You can use moisture-wicking adhesive in various applications, including woodworking, home improvement, and furniture repair. They are especially useful for projects where waterproofness or durability is not critical, such as cosmetic repairs or small DIY projects.
These types of adhesives are less expensive and easier to use than waterproofing adhesives, which are for use on waterproof surfaces.
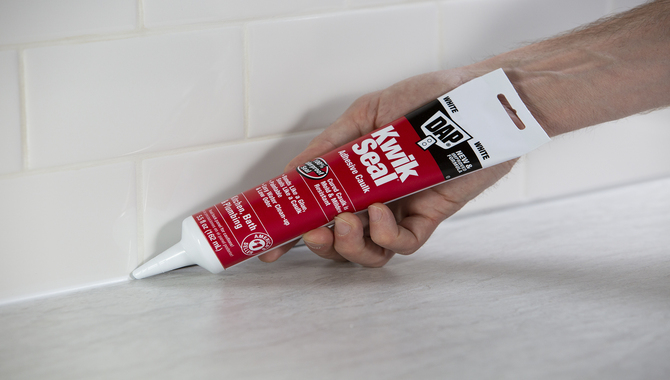
What’s The BEST Way To Store Caulk Tubes?
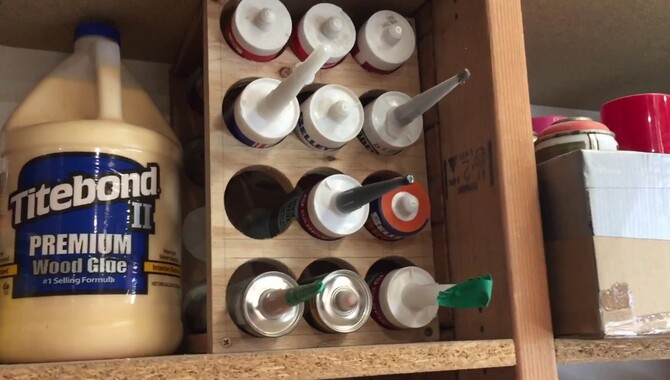
One of the most common problems in home repairs is needing the right tools available when needed. Caulking tubes can be problematic because we usually store them in small, easily-lost places. Storing caulk tubes can help keep the tubes fresh and free of bacteria. You can follow a few steps to ensure that your caulk tubes stay fresh and clean.
- Store caulk tubes in a cool, dry place. This will help the tube last longer and prevent it from drying out.
- Use a moisture-proof storage container. These containers are designed to preserve the smell and color of the tube and keep it free of contaminants. They also provide additional protection against air and moisture infiltration, prolonging the tube’s shelf life.
- Seal the container securely to protect against air and moisture infiltration. This will also ensure that the tube doesn’t become brittle or break when opened or closed.
- Mark the container with the caulk tube’s expiration date. This will help you remember when discarding the tube, allowing for proper waste disposal.
Keep caulk tubes away from direct sunlight and heat, as these factors can accelerate the deterioration of the tube. By following these simple steps, you can ensure that your caulk tube remains fresh and clean for as long as possible.
Conclusion
One of the most common problems homeowners face is the drying out of caulk and adhesive. This can lead to peeling, cracking, and other serious damage to the surfaces that it is applied. In this blog, we will discuss tips on preventing caulk and adhesive from drying out.
Following these simple tips ensures that your caulk and adhesive stay in good condition and are less likely to cause damage. Store caulk tubes in a cool, dry place where you can keep them upright.
Also, ensure to seal the caulk tubes tightly. If caulk tubes begin to sweat, they have likely dried out. If this happens, replace the caulk tube and use a moisture sealant to restore the sealability of the caulk tube.
However, as mentioned above, you can also cut the sealer with petroleum jelly and plug the caulk tube with a nail. It is always better to check periodically if you still seal the caulk tubes. Our information on how to keep caulk & adhesive from drying out was useful.
Frequently Asked Questions
1.How Do You Store Caulking After Opening?
Ans: It would be best if you stored caulking and adhesive properly to prevent them from drying out. Keep the caulking container covered to prevent light exposure, and do not store it near heat or open flames.
2.Is There A Way To Save Caulk?
Ans: There are a few ways that you can save caulk.
- Store caulk in a sealed container: Store caulk in a sealed container in a cool, dry place. You can also store it in the refrigerator.
- Pour caulk into a sealable bag and freeze it: Pour caulk into a sealable bag and freeze it for future use.
- Keep caulk in a spray bottle: Keep caulk in a spray bottle for easy application.
3.Can You Reuse The Caulk After Opening It?
Ans: It is generally not recommended to reuse caulk after opening. This is because the sealant may no longer be effective and may cause damage to the surface you are trying to seal.
Clean the sealant off of the surface before using it again. Do not use caulk on porous or damp surfaces. Keep caulk and adhesive in a cool, dry place.
4.How Do I Keep My Caulking Tube From Drying Out?
Ans: One of the best ways to keep your caulking tube from drying out is to store it in a cool, dry place. Make sure the caulking is properly mixed before using it, and apply it with a spray bottle using a light mist to avoid any air bubbles. Lastly, don’t use caulk on wet surfaces.
5.How Do I Use Caulk & Adhesive Remover?
Ans: To use caulk & adhesive remover, first, apply a small amount to the affected area. Rub the remover into the caulk & adhesive until you dissolve it completely. Wipe off the remover with a cloth or paper towel.
Leave a Reply